Category Archives: The Writing Process

Discover Your Best Method to Revise

April 2018 was a great month to learn about the various ways we can approach the art of revision. Yes, it is an art. Although there are skills we all need to employ, like the skills of grammar, understanding theme, knowing how to revise a scene, knowing how to choose beta readers and accept their feedback, and so much more, all those skills must be combined to form our individual approach or art to revision.

Please come back to these posts any time and find those gems of wisdom which will help you create your best ever story told! For easy reference, I’ve summed up the posts and have added links to them. Cut and paste this blog into your Revisions folder so that you have an easy reference to answer any questions you may have regarding revisions.

Oh, and one last REALLY IMPORTANT note: let it rest, have fun, party and reward yourself for a job well done and then when you are ready, buckle down, and just do it! Revision can and should be a rewarding process.

In, Conquering First Draft Fear: How to Proceed with the First Round of Revisions, Kristin Luna tells us that time away from the manuscript gives us the ability to rise past the subjective fear and to recognize what is and isn’t working. All our fears about revisions are details – and in the details! You know you still love the story and you will do the necessary work. Kristin’s most important piece of advice regarding revisions – Just. Do. The. Revisions.

Mary Pletsch’s three part series on beta readers is a must read. – Beta readers are not editors although their feedback is invaluable; you may want to include non-disclosure agreement; always be sure they know your deadline; beta readers aren’t meant to be cheerleaders who are emotionally supportive.  They need to be upfront and honest about what is and isn’t working and we as writers need to know why. Be clear what you don’t want (grammar, for example) and what you do want (plot, dialogue or character issues). Check out: What is a beta reader? Part 1 of 3; Beta Reading and Emotional Minefields (Part 2 of 3); and Beta Reading and Emotional Minefields (Part 2 of 3)

Being a couch potato is a good thing, Kim May tells us in Couch Potato Time For Health and Profit, Treat yourself for finishing the first draft and then do nothing for at least a week to give your creative side time to rest and so you don’t end up resenting your work.

Author and Editor Susan Forest – After you receive comments from your beta readers, how do you handle their feedback? Put their advice into two columns: line edits and global revisions. Phrase all comments in the positive. For example, even if you agree that the protagonist is weepy and weak, revise that comment to something more positive like Angela should stand up for her position. Divide the comments into small workable batches and note them at the beginning of each scene before you revise. For more great tips read Organizing Critique Comments for Implementation .

In When A Pantser Revises, Chris Marrs likens a pantser’s first draft to putting together a jigsaw puzzle and in the process of putting the puzzle together, a picture emerges in a way you haven’t dreamed. Pantsing the first draft gives free license to the imagination from where wonderful gens emerge.

Knowing where your writing is strong and where you tend to gloss over or not do as well in the first draft is a very cool approach to revising your novel. In Revising in the Wild West, David Heyman candidly talks about his strengths and weaknesses in the first draft and his approach to creating a better novel. Having the first draft read aloud to him helps David catch things he’d miss visually. Then, he looks for three things: things he does well (yay!); those he doesn’t do well; and things he doesn’t do at all.

Jo Schneider’s approach to having finished the first draft is a fun one – party! In This is Only the Beginning, Jo explains that as an outliner, she writes the first draft quickly and then after a rest period is truly excited to discover what unplanned things happened to her characters. She makes bother reader critique notes when she reads the first draft along with specific plot, scene and other notes. After that, it’s time to revise the outline and see what awesome hybrid has been created.

How do I know it’s a Rough Draft? It’s dull. Very dull, in fact. Fiction editor Barb Galler-Smith knows when an author has a story is ready to be polished for publication when it propels her from start to finish and she can over look minor errors. Drafts vary – there’s the UGLY draft which consists of everything as it came out of your head, the ROUGH draft where you’ve cleaned up the manuscript as much as you could, then after you’ve received feedback from your beta readers and made those corrections, you have your FIRST draft completed which could also be your SUBMISSION draft.

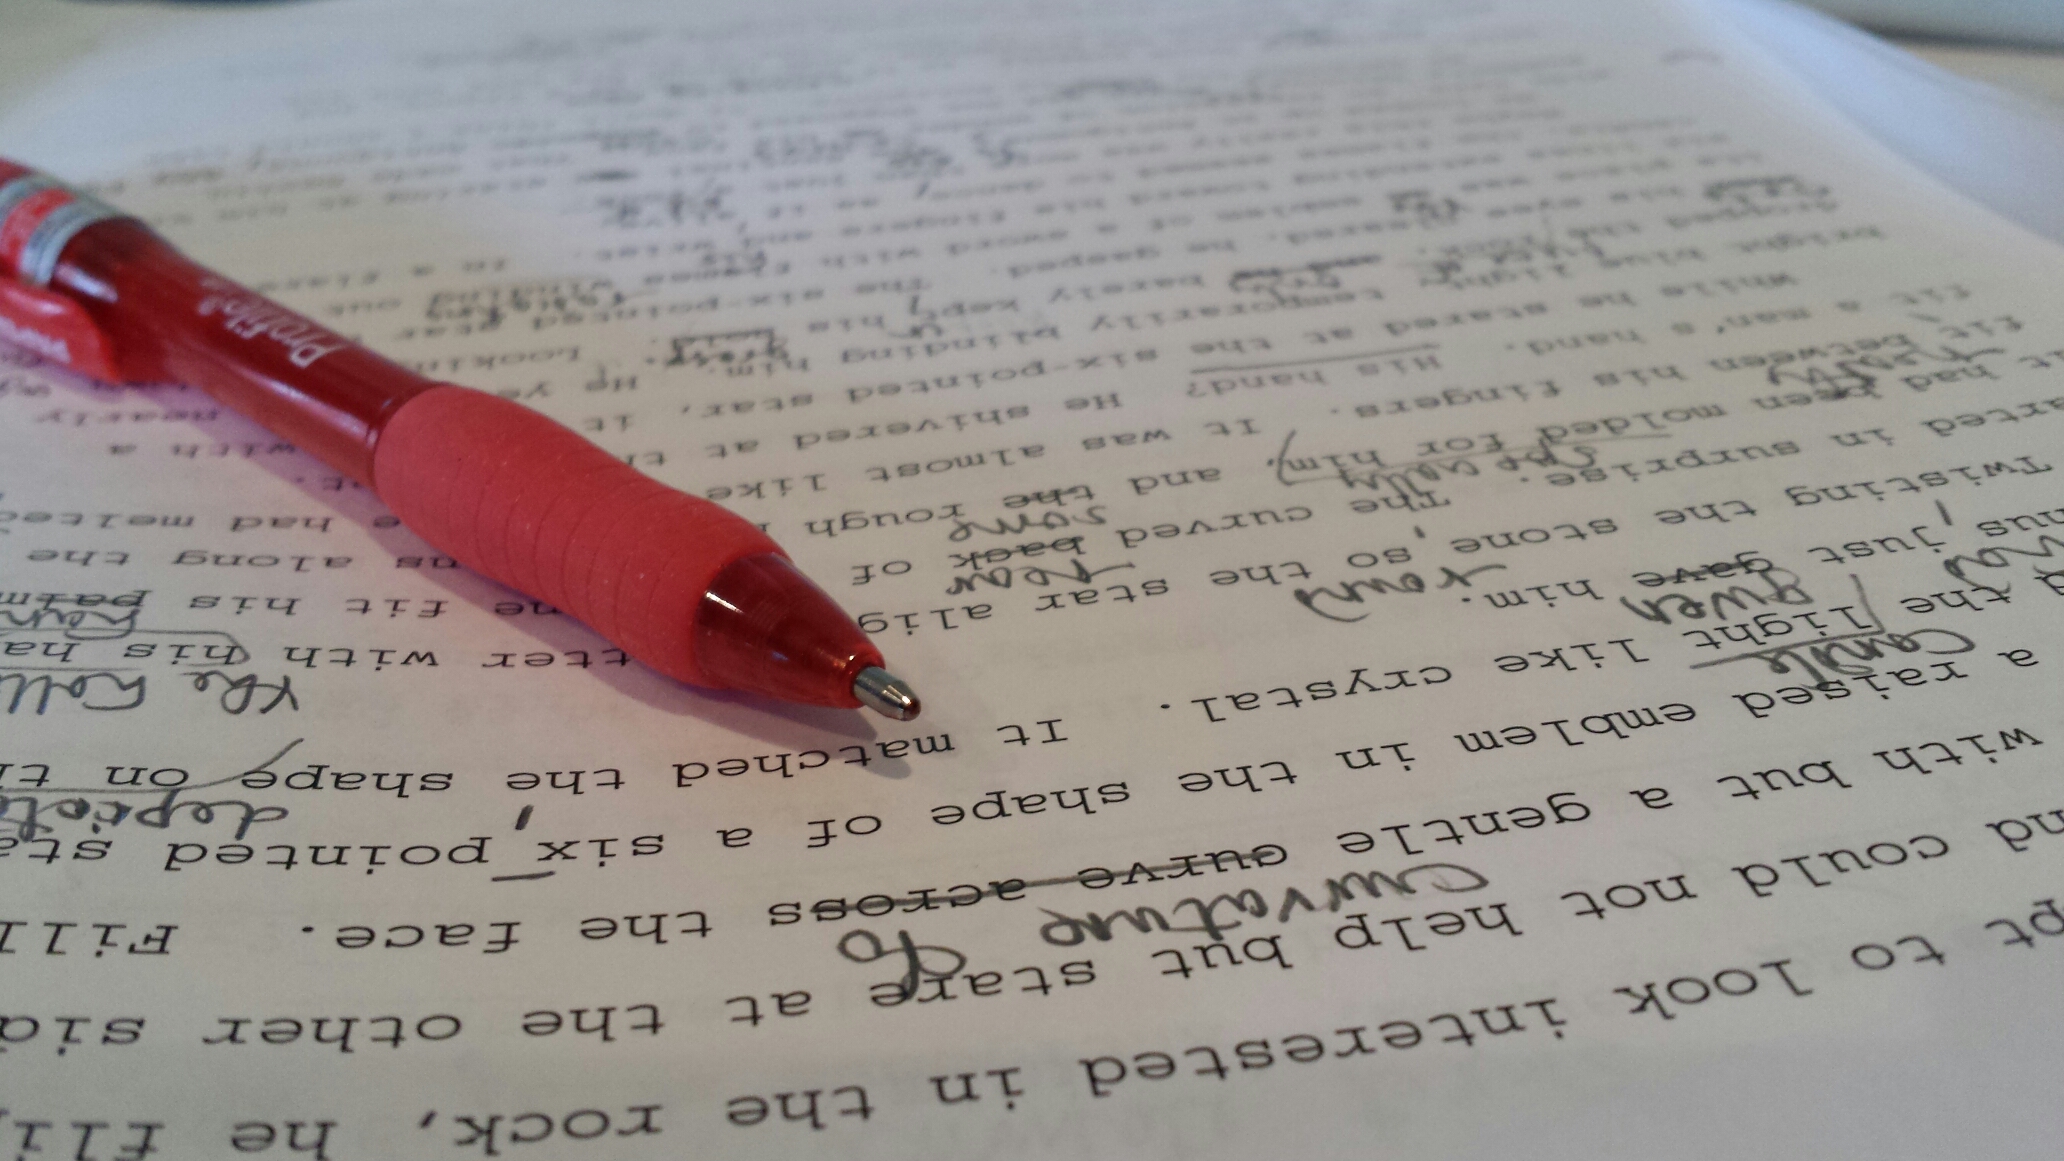
In Revisions, edits and proofing. The real work of writing., Sean Golden explains that it’s easy to be in the creative zone and to write the first draft but the real work is in the number of specific passes Sean makes to get his manuscript ready for an editor. First, he looks for the big things like character arc, conflict and plot holes. Then it’s passes on dialogue, contractions, passive and active voice.

Like a poker player, every writer has tells which make his voice unique but some of which are bad ones and need to be culled. In Your Writing Poker Face, Gregory D. Little explains that it’s important to understand our tics and the habits we fall into because then we have an opportunity to not only correct the bad ones, but also to celebrate those which make our writing voice unique. But best of all, it helps us avoid self-plagiarism where we tell the same stories, explore the same themes, and the similar characters over and over again.

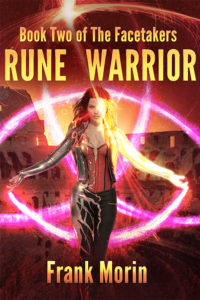
Frank Morin reveals the agony of receiving feedback from editors in Embracing the Pain – Receiving Editors’ Feedback. However, the purpose of feedback is to make the story fulfill its potential and a writer’s growth comes from constructive criticism. Although much needed, it can still be a painful process Embracing the Pain – Receiving Editors’ Feedback The joy of revision comes after Frank’s embraced the feedback, accepted responsibility for the flaws and he embraces the work and the story truly becomes amazing.

Editor and author Adria Laycraft shares her 10 steps to take before seeking critiques from others. Highlights from her post include: writing a back cover blurb and a synopsis to know the story better; drawing up plot points, looking for tension, and assessing if scenes further the plot. Oh yes … let that manuscript rest a while! To read more, check out 10 Steps After “The End”

This month I wrote about three things we can do to understand out story and to approach revision systematically:

1) In Before You Revise, Know Your Story – 5 Simple Steps, the big takeaways were to write your About Statement in one line and change it into a question. If you’re climax addresses this question, you’ve been consistent with your theme and purpose. Create a scene by scene outline which will help you see if the story is cohesive and if each scene is doing its work;
2) If you’re writing a series, don’t revise your first draft until you’ve thought about and plotted your second novel, or at least the series arc. It’s too easy to perfect the novel and later, and tragically after publication, discover that there were certain things that should or should not have been included. So, Don’t Revise – Plot the Next Novel!; and
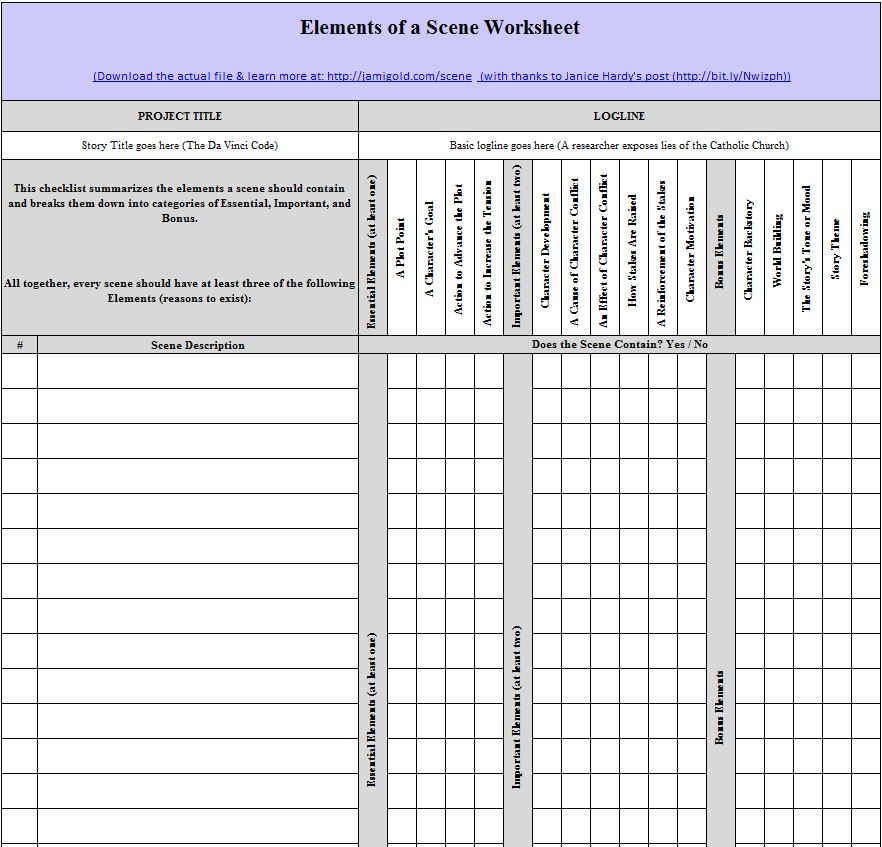
3) What does it mean to revise a scene and how do you do that? That’s the question I answer in How to Revise a Scene which includes all steps from identifying your scenes, to their role in the story’s structure and how to assess specific scene impact.

We hope you’ve found something to help make the revision process a little easier, more fun and rewarding. Happy revisions!

10 Steps After “The End”

Guest Post by Editor and Author Adria Laycraft

So you wrote a book … CONGRATS! Not as many people as you would think make it this far. Writing and completing a novel is a big accomplishment. Take a moment and relish that. You deserve it.

Now here are ten steps to take before seeking critiques from others:

1.  Let it rest. The more space you can manage to put between yourself and the work, the more discerning you will be when you come back to it. But you MUST get some distance in order to see the work objectively.

2.  You let it rest, right? No, overnight is not enough. Go write something else. Plant tulips. Walk the dog. Take up yoga. You’ve had your head in this story for way too long, you know it’s true, so really try and get clear of it … and only time can do that.

3.  Now before we get into step three, I want to make sure you realize how serious I am about that rest time. If you’ve really done that, then it’s time to read through, make notes, and edit yourself. Draw up your plot points. Look for places to increase the tension. Be ruthless and delete what doesn’t further the plot, no matter how well written. You will likely do some line edits in this phase, but don’t let it consume you. There’s time enough for that later.

4.  Write a back cover blurb. This tests your knowledge of theme.

5.  Now write a synopsis. Two pages, single spaced, that sum up your story’s plotline, including the ending. This forces you to examine plot in big picture mode, and it will be useful later when you are sending in your submissions. Steps 4 and 5 are somewhat like reverse engineering–you want to take the finished product (your manuscript) and break it down to study the bare parts, the ingredients, and check their quality and coherency.

6.  Search out your story promises. Does the opening reflect what’s important? Does the ending resolve the promises made? If your opening scene is romantic, but it turns into an action thriller, that’s not fulfilling the story promise. Does the opening hint at things that are never important later? Those story promises need to be filled, or the hints rewritten to point to important plot items. And first lines are important, so if there is a place, person, or thing featured in the first lines that isn’t an integral part of the story, it needs to be deleted.

7.   Rewrite based on your findings, then scan through it again.

8.   REST. Yes, again. For weeks. Months if you can stand it. Here again we benefit from seeing the story anew after we’ve ‘forgotten’ it a bit.

9.   Now read again, fresh-eyed, and search for lines where you say the same thing twice and rewrite into one. Watch for where the word choices aren’t quite right and find better ones. Polish your prose so descriptions use subtext that enhance your theme, and subtle foreshadowing is in place to help make your ending surprising but inevitable. Check any spelling, punctuation, or grammar you are unsure of. You want your manuscript to appear as professional as possible.

10.   You’re ready for beta readers! Remember to be clear on your theme and plot before receiving critique so you can see where suggestions work or don’t work for the story you are trying to tell. Be prepared for many more revisions! Even a book deal will mean more editing to come. Writing, and publishing, is very much a long game.


Editor, Author, and Wood Artisan, Adria Laycraft tries to use her fickle creative squirrel nature as a tool, bouncing between several projects at any given time while wondering why people stare. Her new website (coming soon!) is at www.adrialaycraft.com with information about editing services. Watch for her novel Jumpship Hope coming from Tyche Books.

How to Revise a Scene

A scene is a unit of writing which moves the story forward. There are two types of scenes: action and reaction scenes. Action scenes have an objective, an obstacle and an outcome. Reaction scenes have emotion, analysis and decision. If you need more information on scenes and scene structure, I recommend James Scott Bell’s book Revision and Self-Editing for Publication.

THE STEPS

A) THE SET UP
This section is a lot of work, but the benefits are worth it. Chances are, if you have an agent or an editor (publishing house or otherwise) you’ll be asked to submit a scene outline.

1) Identify and number the scenes. If I am writing in chapters, I‘ll number the scenes for Chapter 1 as 1a, 1b, 1c. If I’m not writing chapters but scenes, I number them as I go along.

2) On a spread sheet, write a one sentence (or two at most) descriptor about each scene.

3) Identify whether a scene focuses on the main plot (M) or subplot (S). This will help you see what kind of balance or structure your plot has.

4) Write an About statement which explains your story. It should be only one sentence long. For example: This story is about a boy who must understand forgiveness to defeat an evil wizard to save his school. Put this line at the top of your chart for easy reference. Sometimes this is called theme.

5) Turn the About statement into a question. This is the story question and it is what the climax must answer. For example: To save his school, can the boy learn to understand forgiveness in time to defeat the evil wizard?

6) Note if scenes are Action, Dialogue, Exposition, or Reflection/Reaction. There are many more types of scenes, but I like to keep it fairly simple and use only four. This will reveal how the story is balanced. For example, are action scenes followed by reflection/reaction scenes? Are there too many exposition scenes? Too much exposition scenes may mean that there is too much telling and not enough showing or clumped together, they may halt the pace.

7) Create columns for General Notes, Character Appearances, POV, Time of Day/Location or other things important to your story. Then look for balance and continuity and logic problems. For example, if you have one main POV character, but interject with a secondary character, it wouldn’t make sense to have the bulk of middle chapters form the secondary character’s POV. If you do, then you have to decide whose story this is and find the appropriate story telling balance.

B) DECIDE IF SCENES ARE NECESSARY BEFORE YOU REVISE
Neglecting this step and revising before you understand the problems in each scene can be a waste of time. Why put the effort into revising only to discover it should be deleted or that it needs to be rewritten because it’s not doing an adequate job of moving the story forward. Or that a bridge scene needs ot be written for effective transition which means that the scenes before and after need to be changed.

1) Determine if each scene reflects or addresses what the story is about (step 4). Each scene must also work toward answering the story question (step 5), or in other words, each scene must work toward the climax.

2) At this point in the process, I look to apply the rule of three, where things should happen or appear at least three times. If they don’t either they’re not needed and should be eliminated or must be added. For example, I have one scene with a secondary character who has a small but important contribution to a murder investigation. I am thinking that I’d like her to appear in other books in the series. To make her contribution and her character more memorable, I need to include her at least two more times in the novel. This might be done by adding her into existing scenes or writing new scenes.

3) Ask if the scenes are hitting all the beats, all the points of good story telling structure. This may entail looking at your story from the Three Act Structure or the Hero’s Journey, for example. If you are missing the Crossing the Threshold Scene, write it now.

C) REVISE THE SCENES
Your story structure is fairly sound now because you’ve got the list, you know what type of scenes you have and if they’re hitting story telling beats. Now, you need to make each scene as strong as possible.

Every bit of dialogue, exposition, action and reflection must move the story forward. If it doesn’t, that scene isn’t doing its job and it’s muddying your story.

To help me analyse the power of my scenes and exactly what they’re contributing, I use Jami Gold’s Scene Checklist and note what is working for each scene. Jami’s checklist is very comprehensive and I think it’s a good starting point but you still must address each point critically.

When using Jami’s system, I discovered that I had too many scenes in a row which did not increase the stakes. Sure, there was tension in those scenes, but in terms of the story goal, the stakes weren’t being addressed.

So the Scene Checklist helped identify problems, but how do you address them?

For every scene, ask:

1) Does it advance the plot?
2) Does it reveal character?
3) Has something changed for the character?
4) If it is an action scene, does it have a clear objective, obstacle and outcome?
5) If it is a reflection/reaction scene, does it have clear emotion, analysis and description?
6) Is the dialogue succinct and does it move the story/plot forward?
7) Is the exposition clear and succinct, create tension, and move the story/plot forward?
8) How can I address the problem identified in the check list?

Subplot scenes must, in one way or another, affect or contribute to the plot by complicating the protagonist’s goals. This could be by producing emotional or physical obstacles. Subplots are great for revealing character and increasing personal stakes. Do your subplot scenes contribute to story in these ways?

Using these questions as a guide, look for ways to strengthen each scene so that it is doing it’s job and has maximum impact.

When you’re happy that the scene is doing the work that you need it to, then it’s time to polish and make sure that every line and every word is doing it’s job, that voice is active not passive, that those pesky -ly words are minimized and you are showing and not telling, and dialogue is crisp and clean.

Revising scenes is a long hard process, there’s no doubt about that but the rewards of producing units of writing with maximum impact are certainly worth it for you and your readers!

Embracing the Pain – Receiving Editors’ Feedback

EditsReceiving edits back from an editor is like opening a Christmas present on the set of a horror film: exciting and terrifying at the same time.

Don’t get me wrong. I love editing. The process of revising and editing and polishing a story transforms it into its final, awesome form. It’s like taking a house that’s got external construction mostly complete, and internal walls roughed in and completing the construction, painting, and furnishing every room to make it a livable home.

Even so, that first scan of an editor’s comments can be painful.

As much as I know the draft I submitted is far from perfect, there’s a part of me that still clings to the hope that the editor will simply say, “Wow. I’ve never read anything quite that amazing. I can’t imagine how to make that better.”

Never going to happen. Instead, a good editor will shine a spotlight on every flaw, point to every weakness, and ask for clarification of every inconsistency. They’ll highlight every issue part of me was secretly hoping they’d never notice.

Feedback is something we authors desperately need and usually crave. When we’re new, we’re usually terrified by it, sometimes take it personally, treat is as an assault, or embrace the righteous anger of a parent protecting their precious child. All the wrong answers.

I still feel flashes of that sometimes when I’m first reviewing edits, and I’ve learned to laugh at myself. My pride is meaningless, my vanity useless. The story is what matters, and a good editor helps identify weaknesses and make suggestions to help that story fulfill its potential.

They do point out the things that do work, and that’s also extremely helpful, but the work and the growth comes from the constructive criticism.

So I always complete an initial quick scan of the feedback, then take a break, breathe deep, consider what I read, and sometimes take a walk as I mentally update my assessment of what I had thought I had written to the reality of what I had actually produced.

Only then can I get to work.

That’s when the fun begins. When I embrace the feedback, accept responsibility for the flaws, and embrace the work required to fix and improve the story, it’s always amazing how fast new insights and ideas flow. Sometimes that’s the point when I finally understand what story I’m really trying to tell. That’s when I can make it amazing.

Some authors are smarter than me, and perhaps their experience with editor feedback is more like a gentle, encouraging massage. For most of us, it’s a bruising beating that helps us grow stronger.

PerfectionWithout fail, when I keep an open mind and honestly review suggestions and critiques, not only do I see ways to better tell the story, but I gain insights into my own weaknesses as a writer. With every story, I grow. I discover blinders that I had on that prevented me from seeing weaknesses, I gain insights into higher forms of craft, and strengthen my skills.

So next time my manuscript will finally be perfect on the first try!

Or not. And I’ll fix it.

About the Author: Frank Morin

Author Frank MorinRune Warrior coverFrank Morin loves good stories in every form.  When not writing or trying to keep up with his active family, he’s often found hiking, camping, Scuba diving, or enjoying other outdoor activities.  For updates on upcoming releases of his popular Petralist YA fantasy novels, or his fast-paced Facetakers Contemporary Fantasy/Historical thrillers, check his website:  www.frankmorin.org